When you click on links to various merchants on this site and make a purchase, this can result in this site earning a commission. Affiliate programs and affiliations include, but are not limited to, the eBay Partner Network.
Price: $57.39
Maxleve-autopart
Your best online business partner
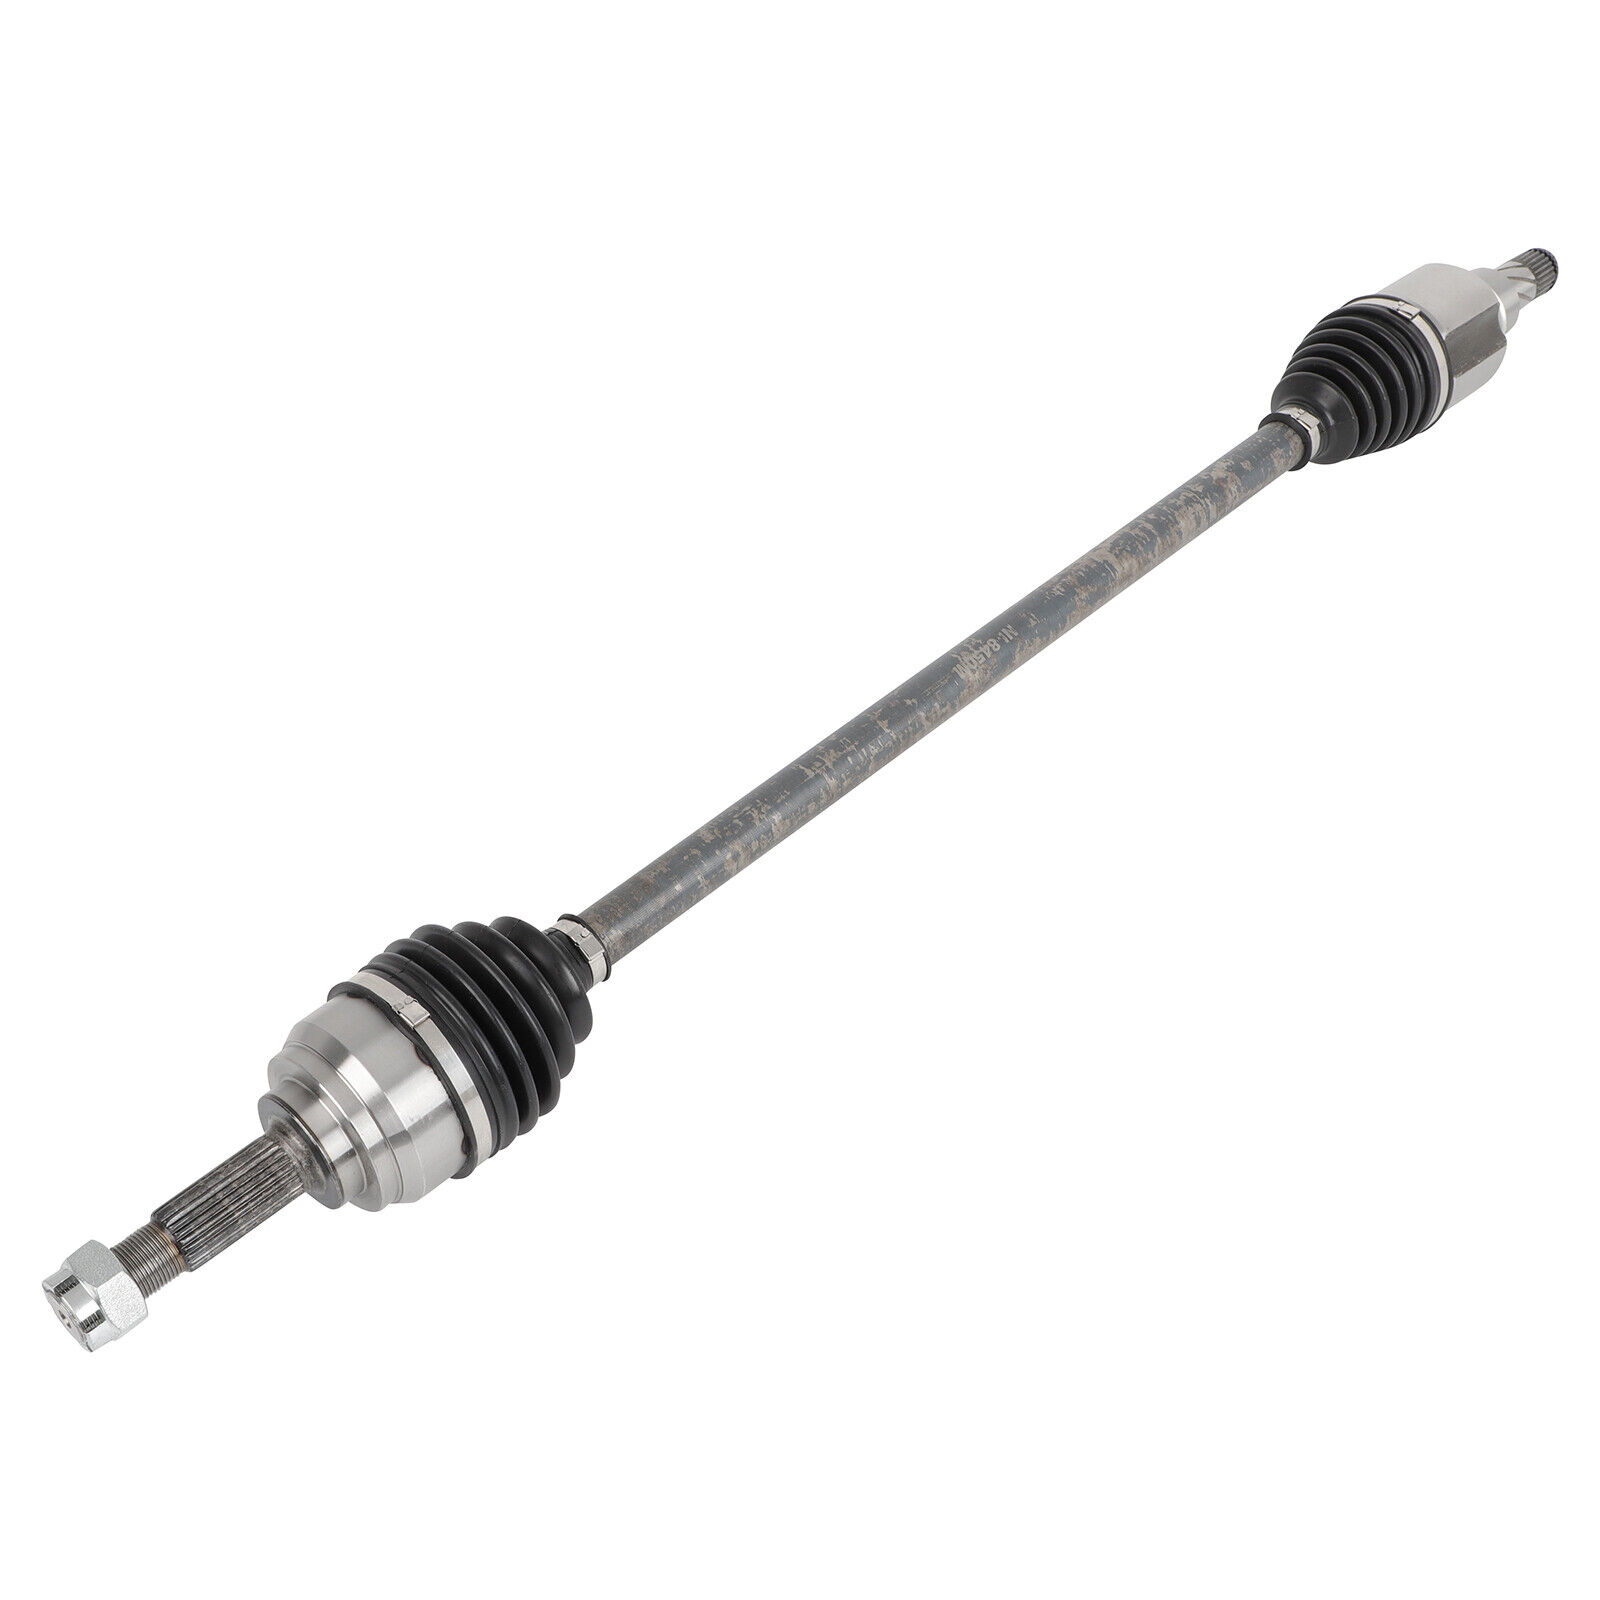
CV Axle For Nissan Versa 2012-2018 L4 1.6L Front Right Automatic CVT TransVehicleCompatibility Information
Nissan Versa 2012-2018 L4 1.6L Front Right Automatic CVT Trans
Nissan Versa Note 2015-2018 L4 1.6L Front Right Automatic CVT Trans
Nissan Versa Note 2014 L4 1.6L Front Right S Plus/ SV
What Are The Signs Of a Failing CV Axle?
You may notice a clicking sound when turning the wheel or accelerating and feel a vibration as the vehicle is in motion. You may also notice grease on the inside of your wheels or tires as the lubricant leaks out from a damaged CV boot.
The steps and tools needed for anCV axle replacement
This is a challenging and technical project
Tool List
Jack
Jack stands
Automotive tool set (pliers, screwdrivers, sockets)
Pry bar
Lubricant
Brake Cleaner
Hammer or mallet
Impact wrench (optional)
CV axle replacement
Pro Tip
Additional specialized tools such as tie-rod end pullers, ball joint removers, and vehicle-specific sockets may be required
1.Slightly loosen the wheel lug nuts. Raise and secure the vehicle. Remove the wheels. Remove the cotter pin. Unlock the spindle nut safety fastener according to the repair manual instructions.
Tip: Leave one side assembled while you work on the other so you can remember how things go back together.
2. Loosen the nut with a proper socket and breaker bar. Another bar or large screwdriver wedged between the lug nuts can help hold the wheel in place. Brake application simplifies the wheel turn issue.
3. On some vehicles, the brake caliper and rotor must be removed before proceeding. Refer to your repair manual for your vehicle's requirements. If you find yourself having to remove the brake caliper, suspend it from a point on the frame or wheel well with a length of coat hanger wire so it doesn't hang from its brake hose.
4. Remove the cotter pin and castle nut from the lower ball-joint. Disconnect the ball-joint from the steering knuckle with a removal tool (your pickle fork is likely to come in handy here). Swing the knuckle and hub outward to free the outboard axle assembly.
5. Gently wedge a pry bar or a large flat blade screwdriver between the axle and transmission. Carefully pry the axle assembly away from the transmission. Be careful not to damage any transmission seals.
6. The drive axle assembly should now slide right out. Take a good look at the drive assembly location, and then remove. The new one will go back the same way.
7. Grease the splines before insertion with gear grease. Insert the replacement drive axle assembly and reverse the disassembly process. Torque all fasteners to specification. Don't forget to use new cotter pins.
Noticed
-Instruction is not included. Professional installation is recommended
-Accessories: You will get exactly showing in the picture
-Please confirm your original part number before purchasing
-Please contact us for anything we can help you with
Item SpecificsManufacturer Part Number MA17579001XBrand Maxleve-autopartPlacement on Vehicle Front Right (Passenger Side)Fitment Type Direct ReplacementPart Type CV Axle Assembly,CV Axle ShaftQuantity 1Surface Finish PaintedNon-Domestic Product NoSuperseded Part Number 66-6414OE/OEM Part Number 391003AB0C, 391003AW0CFitment2 Nissan Versa Note 2014-2018Colour BlackWeight 16LBundle Listing NoWarranty 1 YearMaterial steelOE Spec or Performance/Custom Performance/CustomModified Item NoInput Shaft Connection Style SplineNumber of Inboard Splines 25Output Shaft Connection Style SplineNumber of Outboard Splines 25ABS Ring Included NoSpindle Nut Included YesUniversal Fitment NOSpindle Nut Thread Size M22 x 1.5Note Verify this part fits your vehicleAxle Nut Locking Type Self LockSpindle Nut Included YesSpindle Nut Thread Size M24x2.0
Payment
We only accept payment through PayPal.
ShippingWe do not ship to P.O. Boxes, APO/FPO or Military Mail Box.
ReturnsThe guarantee will be only for the cost of the item, we will not responsible for installation or other fees like labor expenses, towing expenses, additional repair expenses or other related expenses.
Contact UsWe fully understand how challenging it is to be a successful transaction. If you are not satisfied with our products, please do not hesitate to tell us, our sales representatives will try the best to make you happy. Customer satisfaction is our priority consideration!
WarningWARNING: Cancer and Reproductive Harm - www.P65Warnings.ca.gov.
Maxleve-autopart
Your best online business partner
Shop CategoryStore Home throttle body fuel injector cv axleBest Sales Fuel Injectors For Volkswagen Jetta 2010-2018 Beetle 2014-2017 1.8L 06A906036F USD 72.49 Throttle Body For Ford F-250 F-350 Super Duty 2004 2003 2002 2000 1999 V8 5.4L USD 67.99 Fuel Injectors For 2006 2005 2004 Chevrolet Colorado GMC Canyon 2.8L 3.5L USD 39.99 Fuel Injectors For Ford Taurus 3.0L 1986-1991 Mercury Cougar 3.8L 1986-1989 USD 50.49 Throttle Body For Chevrolet Impala Monte 5.3L 2006-2007 Trailblazer 4.2L 2003-07 USD 61.49 DeliveryNewly Listed Fuel Injectors For Ford Lobo Lincoln Mark LT Navigator 5.4L 2005 2006 2007 USD 57.49 Fuel Injectors For 2007 2006 2005 2004 2003 Honda Accord 2.4L 16450RADL61 USD 29.99 Throttle Body For Lexus IS250 2.5L 2006-2015 Lexus GS300 3.0L 2006 USD 56.39 CV Axle For Honda Odyssey 2005 2006 V6 3.5L Petrol Front Left 44304SHJA01 USD 59.89 Fuel Injectors For 2020 2019 2018 2017 2016 2015 2014 Ford Fusion 1.5L GTDI USD 67.49 Help & InfoPayment PolicyShipping PolicyReturn PolicyFAQAbout Us CV Axle For Nissan Versa 2012-2018 L4 1.6L Front Right Automatic CVT TransVehicleCompatibility Information
Nissan Versa 2012-2018 L4 1.6L Front Right Automatic CVT Trans
Nissan Versa Note 2015-2018 L4 1.6L Front Right Automatic CVT Trans
Nissan Versa Note 2014 L4 1.6L Front Right S Plus/ SV
What Are The Signs Of a Failing CV Axle?
You may notice a clicking sound when turning the wheel or accelerating and feel a vibration as the vehicle is in motion. You may also notice grease on the inside of your wheels or tires as the lubricant leaks out from a damaged CV boot.
The steps and tools needed for anCV axle replacement
This is a challenging and technical project
Tool List
Jack
Jack stands
Automotive tool set (pliers, screwdrivers, sockets)
Pry bar
Lubricant
Brake Cleaner
Hammer or mallet
Impact wrench (optional)
CV axle replacement
Pro Tip
Additional specialized tools such as tie-rod end pullers, ball joint removers, and vehicle-specific sockets may be required
1.Slightly loosen the wheel lug nuts. Raise and secure the vehicle. Remove the wheels. Remove the cotter pin. Unlock the spindle nut safety fastener according to the repair manual instructions.
Tip: Leave one side assembled while you work on the other so you can remember how things go back together.
2. Loosen the nut with a proper socket and breaker bar. Another bar or large screwdriver wedged between the lug nuts can help hold the wheel in place. Brake application simplifies the wheel turn issue.
3. On some vehicles, the brake caliper and rotor must be removed before proceeding. Refer to your repair manual for your vehicle's requirements. If you find yourself having to remove the brake caliper, suspend it from a point on the frame or wheel well with a length of coat hanger wire so it doesn't hang from its brake hose.
4. Remove the cotter pin and castle nut from the lower ball-joint. Disconnect the ball-joint from the steering knuckle with a removal tool (your pickle fork is likely to come in handy here). Swing the knuckle and hub outward to free the outboard axle assembly.
5. Gently wedge a pry bar or a large flat blade screwdriver between the axle and transmission. Carefully pry the axle assembly away from the transmission. Be careful not to damage any transmission seals.
6. The drive axle assembly should now slide right out. Take a good look at the drive assembly location, and then remove. The new one will go back the same way.
7. Grease the splines before insertion with gear grease. Insert the replacement drive axle assembly and reverse the disassembly process. Torque all fasteners to specification. Don't forget to use new cotter pins.
Noticed
-Instruction is not included. Professional installation is recommended
-Accessories: You will get exactly showing in the picture
-Please confirm your original part number before purchasing
-Please contact us for anything we can help you with
PaymentShippingReturnsContact UsWarning
We only accept payment through PayPal.
We do not ship to P.O. Boxes, APO/FPO or Military Mail Box.
The guarantee will be only for the cost of the item, we will not responsible for installation or other fees like labor expenses, towing expenses, additional repair expenses or other related expenses.
We fully understand how challenging it is to be a successful transaction. If you are not satisfied with our products, please do not hesitate to tell us, our sales representatives will try the best to make you happy. Customer satisfaction is our priority consideration!
WARNING: Cancer and Reproductive Harm - www.P65Warnings.ca.gov.
All right reserved.